Today we’re thrilled to have Jessica from A Little Gray here with us, sharing a fantastic tutorial on transforming the facings of the Playtime Tunic into a charming collar. Honestly, I adore all the new Oliver + S patterns released this fall, but the Playtime Dress and Tunic has quickly become my absolute favorite. Its simplicity and versatility are exactly what I look for in a pattern because I love reusing my creations over and over again.
If you haven’t seen my first version yet, which featured the facings turned outward to resemble a faux Peter Pan collar, you can check it out here. For this version, however, I decided to stick with the original pattern design and I must say, I’m equally smitten with the outcome.
For this festive Christmas edition, I also omitted the sleeves and opted for binding the armholes with bias tape instead. I found that leaving the sleeves off gave the bodice a delightful cap-sleeve appearance. Additionally, I adjusted the hemline to create a tunic length and added pom-pom trim for that extra touch of charm.
Now, let’s dive into how you can customize the facings to create this adorable collar!
---
First, you’ll need to cut out two front facings and four back facings. Since we’re adding an extra layer of fabric, I skipped the interfacing, though I did fuse a narrow strip onto two of the back pieces where the buttons and buttonholes would go.
To achieve the Peter Pan look, take a look at the pattern piece on top. You’ll notice I curved the bottom slightly while keeping a straight edge along the fold, approximately 1.5 inches wide.
---
Next, sew the front pieces to the back pieces along the shoulders as per the instructions. Once done, lay the pieces flat with the right sides together and pin them securely. Sew around the outer curve using a 0.25-inch seam allowance, then carefully clip the curves. Turn the piece right side out and press it thoroughly, gently rolling the seam slightly to one side. Take your time ensuring the front is smooth and even, as it will be visible on the final garment. Set this aside for now.
---
Moving on to the bodice, sew the main pieces together at the shoulders, but leave about 1 inch unstitched on both sides of the neck opening. This small gap ensures that the seam allowances won’t peek out beneath the facing collar—similar to a technique used in the Class Picnic Shorts pattern.
Once you’ve pressed open the stitched portion and flipped it right side out, sew those 1-inch gaps with the wrong sides together. These parts will eventually be completely concealed under the facings, so there’s no need to finish them.
---
Flip the bodice open and position it wrong side up. Align the right side of your facing piece (the side you want to show) with the wrong side of the bodice, matching all three raw edges and pinning around the neckline. In my case, there was a bit of extra white fabric overlapping the inner edges on the back, but I simply trimmed it to match the bodice. While I’m unsure whether using a 0.5-inch seam allowance when sewing the two facing layers together might have altered this, trimming the excess at this stage worked perfectly for me.
Sew all the way around the inner edge with a 0.5-inch seam allowance.
---
To understitch the seam allowance to the main bodice, sew as far along the curve as possible. This helps the seam roll to the wrong side, making it less noticeable around the collar area.
Finally, topstitch the facings down all the way around the outer edge for a polished finish.
And voilà ! Your bodice featuring exposed facings is complete.
---
Looking at the back of the finished dress, you’ll notice the contrast adds just as much character as the front. It’s the perfect way to showcase a playful button selection.
With the holidays fast approaching, there’s still plenty of time to craft a sweet dress for all the upcoming celebrations. Trust me—you won’t regret the effort of last-minute sewing!
Thank you so much for having me on the Oliver + S blog today! — Jessica
---
As always, feel free to share your thoughts or ask questions in the comments below. Happy sewing, everyone!
Place Mat
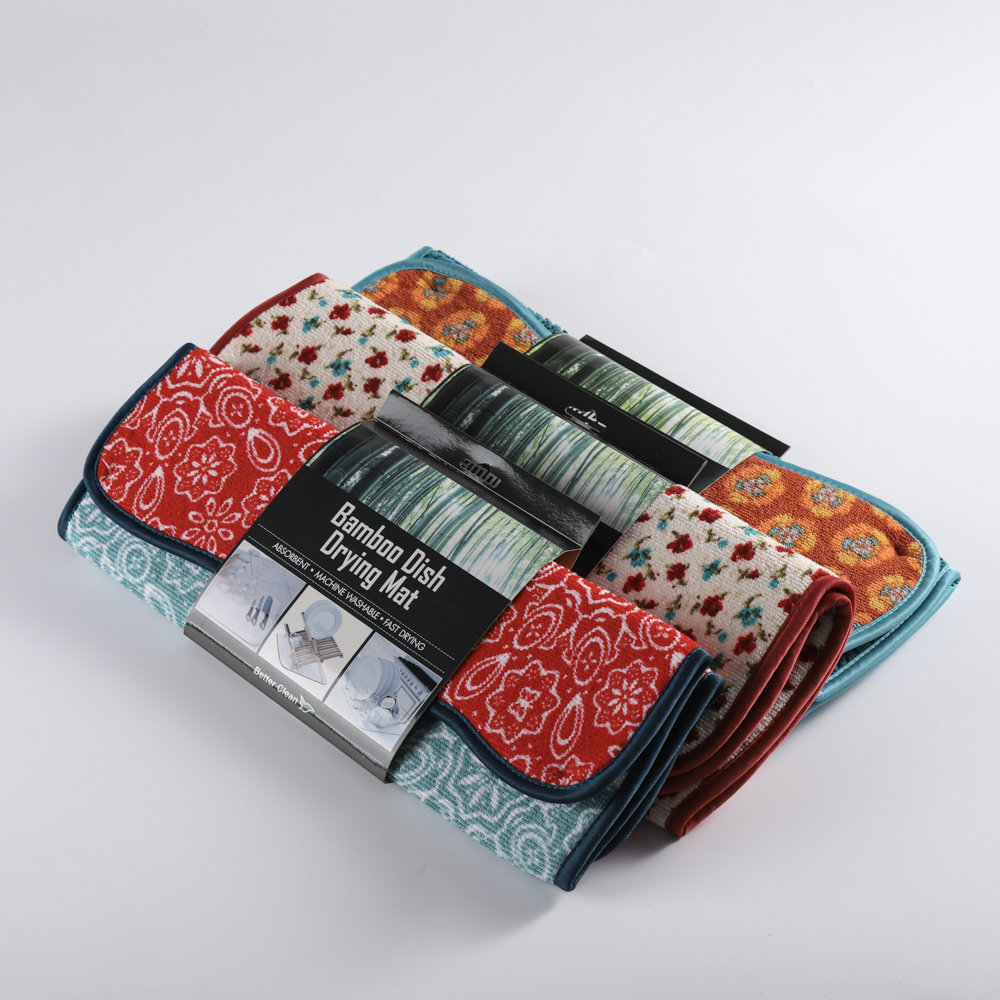
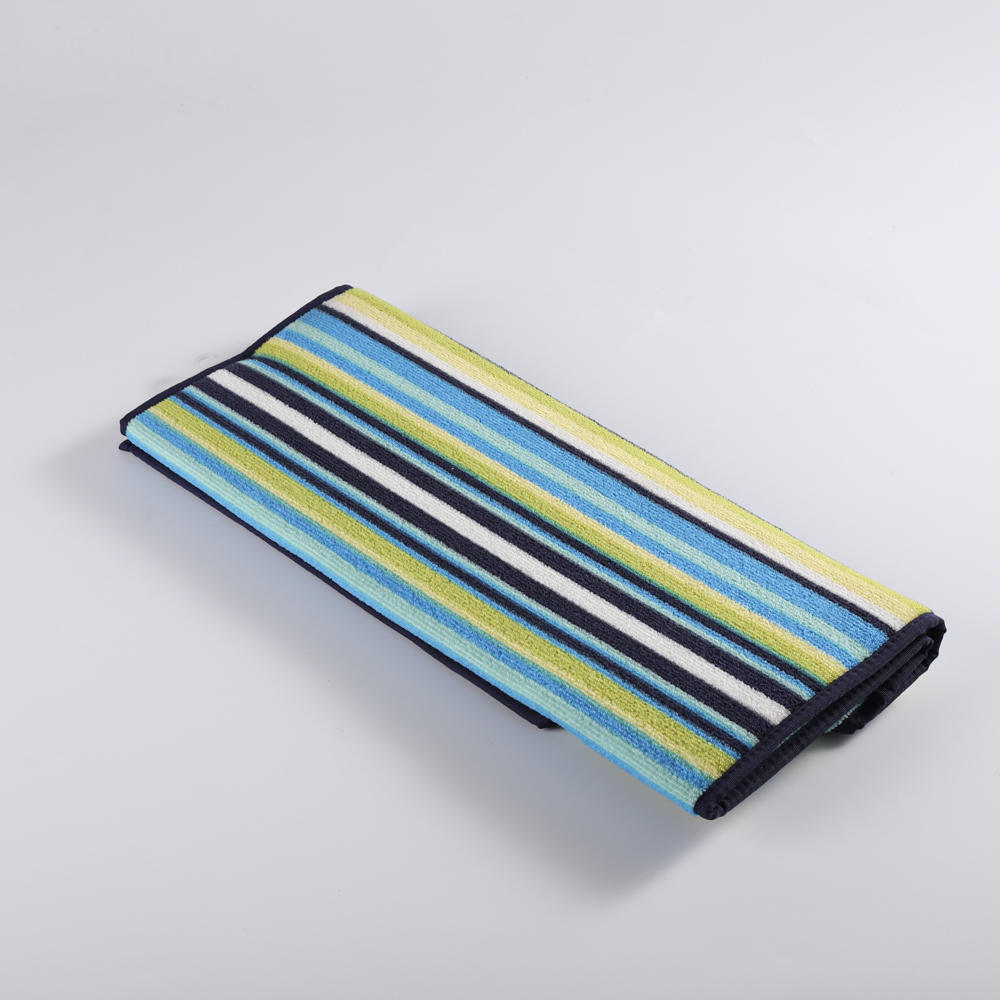
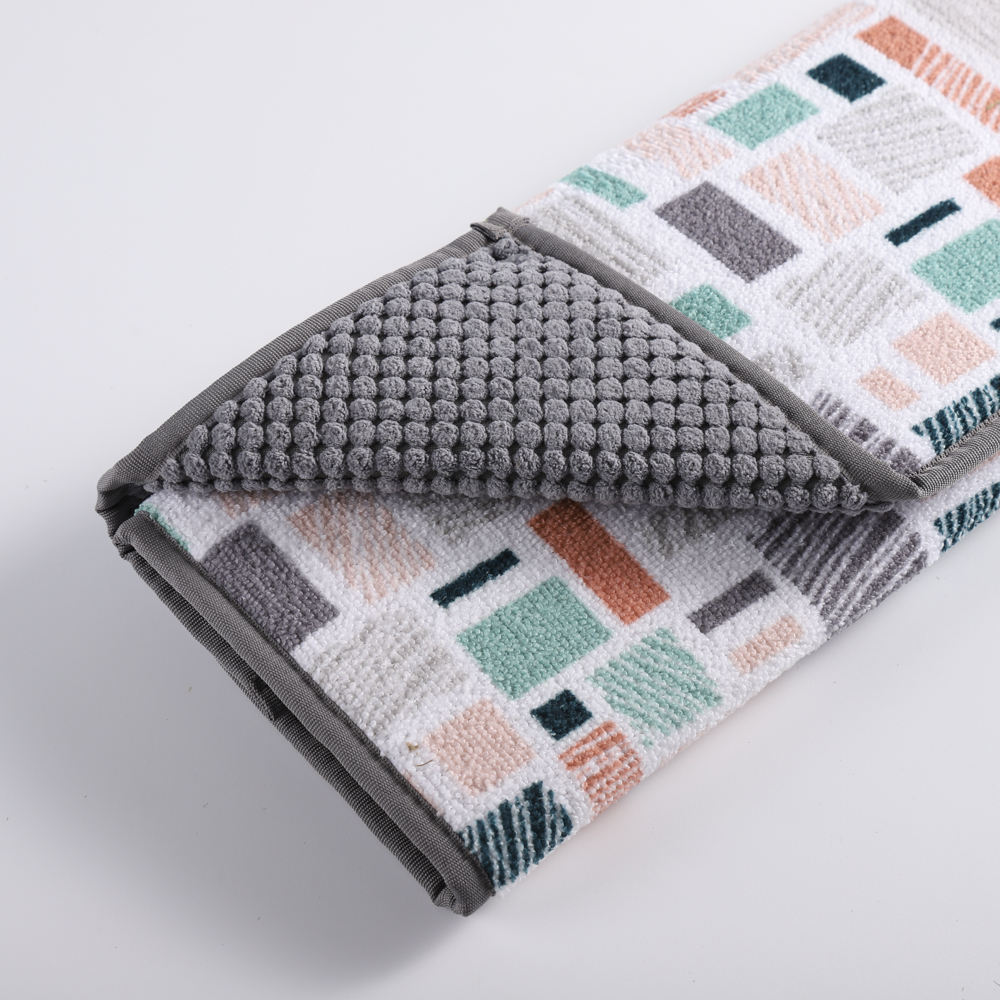
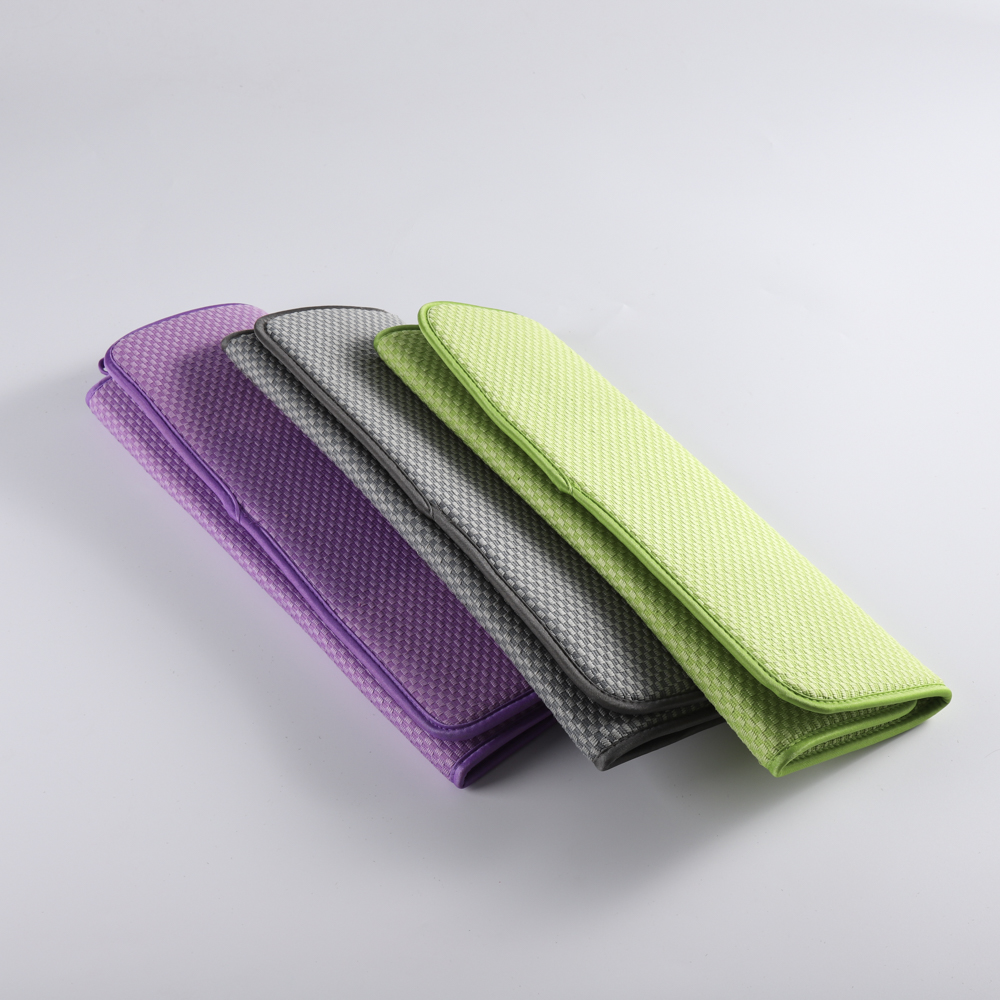
Super Absorbent: The dish drying placemat is made of durable microfiber on both sides and can hold up to 4 times its own weight in water. Our drying place mat pads will suck any remaining moisture from your plates, glasses, silverware, pans, pots, fruits and vegetables. Use alone or pair with a plate drying rack. Keep kitchen countertops dry and clean.
QUICK DRYING AND EASY STORAGE MAT: Dish Drying Pad Mat dries quickly so once your dishes or cookware are done drying, they can be hung with hanging loops, or folded for storage in any drawer, cupboard or closet.
Versatile Drying Pads: Our Dish Drying Pads can be used as Dish Drying Pads, Baby Bottle Drying Pads or Thermal Pads. It also protects small appliances like coffee makers, blenders or blenders on your kitchen countertop from scratches and scuffs. Machine washable and tumble dry on low. Ideal gift for housewarming parties, weddings, welcome home gifts and more.


Place Mat,Personalised Placemats,Table Placemats,Dining Table Placemats
SUZHOU BETTER CLEAN CO LTD , https://www.betterclean.net


